This post contains Amazon Associate links.
K guys, I’m FAR from an expert and actually a little nervous to share this bc there are several better resources out there – I’ve just had so many questions about sourdough, so I’m sharing the process I follow that is pretty simple – I know you can do this too! If you feel like you need some supplies to get started, you can check out my Amazon list of Sourdough products HERE.
THE NIGHT BEFORE the day you want bread, you start your leaven (this is just starter you are essentially activating for baking!)
in a wide mouth jar combine 50g starter, 100 g water, 100g flour (this gives you enough for the leaven + leftover starter for next time you bake)
use a rubber band or marker to mark the height of the leaven/starter, don’t tightly seal the lid just let it rest on top and let this sit overnight to double in size
THE MORNING OF your bread, you combine the leaven once it’s bubbly and double in size
pour 100g of leaven, 350 grams of warm water, and 500 g flour (per desired loaf) into a large bowl and combine together. cover and let sit for 30 min. (this recipe can be doubled per loaf, in my video I made 4 loafs which is why it seems so big!)
(you leave the rest of the leaven you don’t use in the bowl in the jar on the counter until the next time you’re ready to bake, this can sit out for a few days up to a week–if you’re going to go longer than that, put into the fridge
after 30 min add 10g salt (I love using chunky French salt!) and 20g water. combine into the bread and cover and let sit again for 30 min
for the next 2 hours you are going to do a stretch and fold every 30 min (4 times total)
grad the 4 sides of the bread, stretch the dough and fold it over (as seen in video)
after you’ve done this 4 times, let it sit for bulk fermentation time (2 hours)
after 2 hours – shape the dough as seen in the video, pushing and pulling the bread keeping a smooth tight top, tucking the bread under on bottom. flip the smooth top upside down into a banneton basket (this will be the top of the loaf) and pinch the ends together at the seam, as seen in the video.
cover with a shower cap and let rise again for 2 hours.
at 1hr 30 min of the 2-hour rise time- preheat oven with the Dutch oven inside to 500 degrees
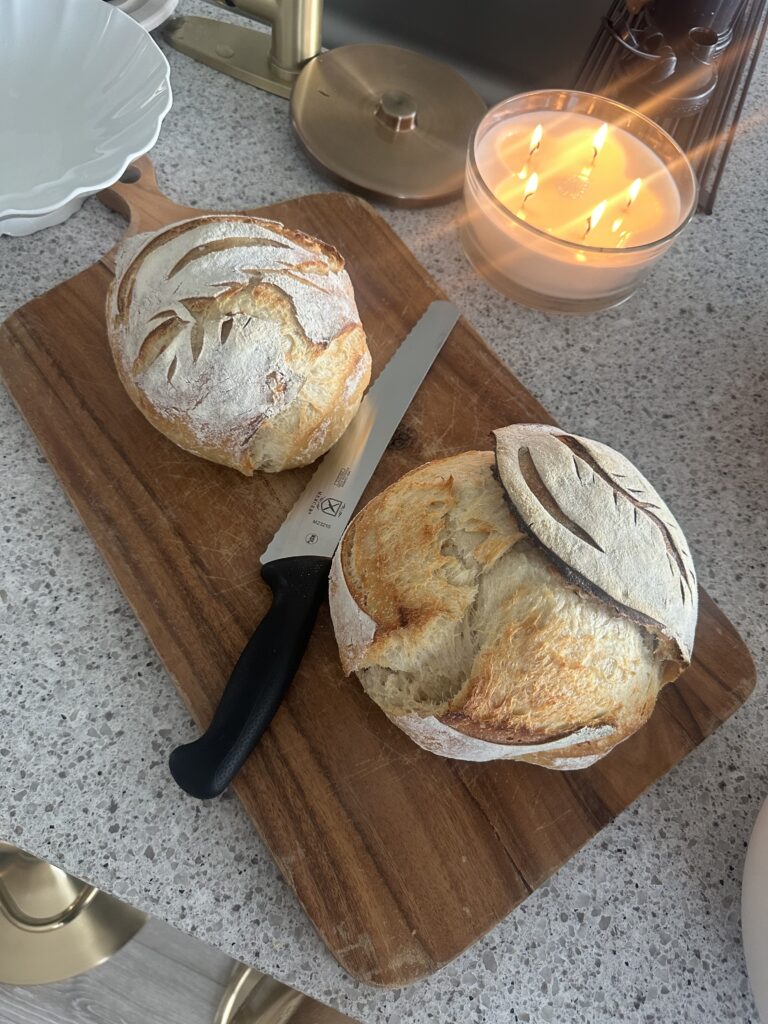
after 2-hour rise when over is ready- turn banneton basket bread over onto parchment paper and lightly flour then score it
lift parchment bread into Dutch oven and decrease temp to 450, bake for 20 min
take lid off, bake another 20 min still at 450
when time is up, pull Dutch oven out and let bread sit for 1 hour until cutting
Dive in an ENJOY!
Many thanks to @loskitchenco @grayce.andersen @eatbasilandbloom for helping me learn how to make my own sourdough – they are the best mentors!

+ show Comments
- Hide Comments
add a comment